

Are you moving to a new home and don’t know how to move your gym equipment without damaging it? Packing and moving your gym equipment can be daunting, but it doesn’t have to be. You can successfully move your gym equipment without damage with the right resources, careful planning and considering hiring a local moving company. This article will explain how to properly pack and move your gym equipment without causing any damage.
You may think packing up your gym equipment is a hassle, but with the proper steps, it will be easier. However, proper packing techniques must ensure all materials arrive in their original condition. And we will provide tips on safely transporting your gym equipment from one place to another. We’ll share tricks for loading the truck or van correctly and unloading everything safely upon arrival at its new home. So if you’re looking for an easy way to move your gym gear more safely, read on!
Evaluation Of Needed Equipment
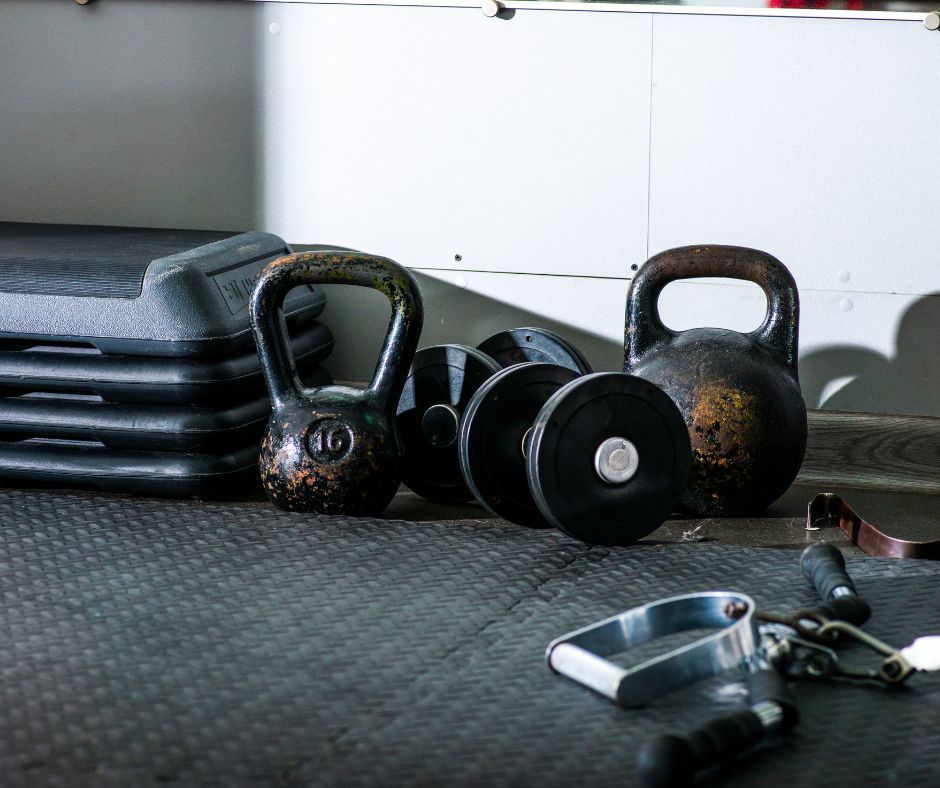
When packing and moving your gym equipment, evaluating your needed items is essential. Heavy-duty tape, cardboard boxes, a dolly, bubble wrap or packing paper are all crucial tools for the job. Investing in extra padding is also wise to ensure your equipment doesn’t get scratched or damaged during the move.
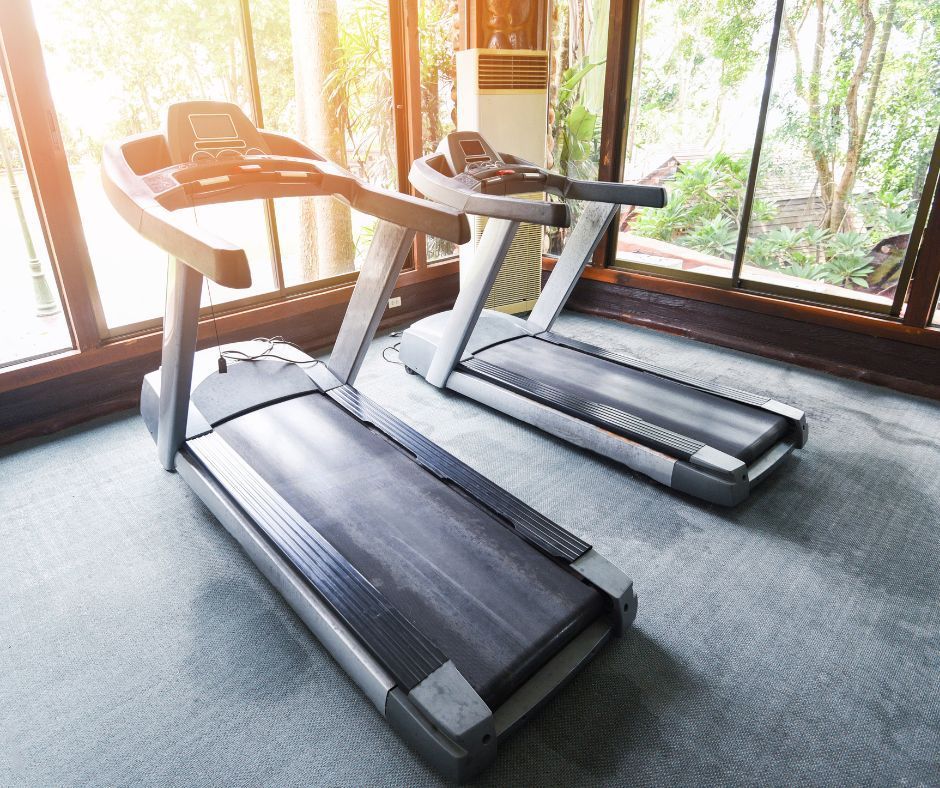
Another item that is highly recommended for moving your gym equipment is a furniture dolly. This will make it easier to transport heavy items such as treadmills and ellipticals from one location to another. Additionally, if you have delicate equipment like free weights or weight machines, it’s best to use more than one person when lifting them onto the dolly.
It’s also essential to make sure that you label each box that contains gym equipment so that you know precisely what is inside and can quickly locate it upon arrival at your new home. This will save time and help track how much time has passed since the last time an item was moved. In addition, these steps will ensure your gym equipment arrives in one piece!
Gathering And Sorting Necessary Supplies
Once you have determined the equipment needed to move, the next step is gathering and sorting necessary supplies. Moving to a gym can be expensive, but there are ways to cut costs. An essential part is collecting all the right supplies beforehand so you don’t have to buy extra or make do with something less suitable.
It’s essential to have boxes, crates or containers for everything. Be sure to select sturdy tubes that can support the weight of whatever will be inside them. Consider getting labels to quickly identify what’s in each box when unpacking at your new location. Packing materials like bubble wrap, blankets and foam padding for fragile items will be next. Next, furniture straps or ropes can secure large and bulky items during transport. Last, remember tools like hammers, screwdrivers and wrenches that may be needed to remove specific equipment before moving them.
You’ve collected everything you need and sorted it into separate piles based on its purpose; it’s time to start packing your gym equipment!
Pre-Moving Preparations
Before packing and moving, your gym equipment, preparing for the move is essential. Start by gathering all the necessary supplies, like cardboard boxes, bubble wrap, packing tape, and a hand truck or dolly. Ensure plenty of padding and cushioning to protect the equipment from bumps and dings during transport. Also, label each box with its contents before boxing them up.
If you have the materials ready, it’s time to start packing up your gym equipment. Disassembly is often necessary for more oversized items like treadmills and ellipticals. Take pictures of the process to refer back to when reassembling at your new location. Make sure to store all removable parts in clearly labelled plastic bags or containers and any hardware needed for assembly.
Finally, if you’re transporting fragile equipment like free weights or dumbbells, use extra caution when wrapping them up. Be sure to use multiple layers of bubble wrap around each piece before securing them in a sturdy cardboard box. This will help protect them from rough handling during transport and ensure they arrive safely at their destination.
Dismantling Exercise Machines
This is especially important for larger machinery such as treadmills and ellipticals. You don’t want to risk damaging them while trying to move them in one piece. To do this safely, it’s best to start by disconnecting the power cord from the wall outlet. Then unscrew any nuts or bolts that keep the pieces together. If there are any extra parts like weights or resistance bands, these should be removed and packed separately.
Please focus on the exercise machines themselves. It’s important to remember that some devices will require two people for safe dismantling. If you do this alone, ensure you can lift and carry each piece without hurting yourself. When removing large equipment like a treadmill, remove all the screws from the base before attempting to take it apart further.
When all the pieces are disconnected and taken apart, it’s time to pack them up! Wrap each piece in bubble wrap and secure it with packing tape for maximum protection during transport. Place smaller parts like nuts and bolts into labelled plastic bags, so they don’t get lost in transit or mixed up when reassembling later on. Once everything is securely wrapped and packed away, your gym equipment should be ready for its journey!
Securing The Equipment For Transport
The first step is ensuring everything is clean and dry before packing. This will help prevent any damage that could occur during transport.
Next, use bungee cords or straps to secure the equipment together. If possible, tie them together so they won’t restrict their movements during transit. Also, use padding or foam between pieces of equipment to reduce friction and further protect them from damage.
Loading The Vehicle Properly
Now that the equipment is secure for transport, it’s time to load it into the vehicle. This task should be done carefully and with caution. Considering the equipment’s weight and ensuring that all items are balanced is essential. Before loading, measure and mark the center of gravity on each piece so that when placing them in the vehicle, they can be placed as close to this point as possible to maintain balance and keep everything secure while in transport.
When loading the vehicle, place heavier items first. They should be secured with straps or other fastening devices so they can not move during transit. Once these items are guaranteed, lighter items can be added on top of them. Any loose items should be placed in secure boxes or containers and properly labelled before being loaded into the vehicle.
Once your gym equipment has been loaded correctly and securely into the vehicle, you can begin your move! Recheck all straps and fastening devices before you hit the road, ensuring nothing has shifted during loading.
Unloading At The New Location
To ensure everything arrives safely, it’s essential to take your time and be careful when unloading. Start by opening all the doors and windows in the space. This will make moving the equipment around easier without worrying about getting stuck in a doorway or hallway.
When unloading, have someone help you lift and carry the large equipment. Ensure you lift with your legs, not your back , so you don’t hurt yourself. Once everything is moved inside, take some time to check for any damage that may have occurred during transit. If anything appears broken or damaged, contact the moving company immediately so they can work with you to replace the item or refund your money.
After everything is unloaded and inspected, begin setting up your gym equipment accordingly. Ensure all parts are secure before using them, and read instructions for each piece of equipment carefully before assembling them. It’s also important to double-check all safety features when operating machinery or weight to avoid accidents or injuries. Once everything is put together correctly and securely, enjoy your new gym!
Reassembling The Exercise Machines
The next step is to reassemble the exercise machines. To do this, take out the owner’s manuals and parts you packed separately and place them near the appliances. Then, refer to the instructions in each manual for correctly assembling each machine. Follow all steps closely and double-check everything is correctly built before using it.
When reassembling, it’s essential to be gentle when screwing things into place and connecting cables. If you need help figuring out how something goes together, ask for help from a friend or family member who may have more experience with this type of work. Additionally, if any pieces are missing or damaged, contact the manufacturer immediately so they can send replacement parts or provide further instructions on what to do next.
Finally, once all machines have been correctly reassembled and tested, it’s time to enjoy your new gym! Start exercising regularly and invite friends over to use your equipment too! With proper care and maintenance, your gym will stay in excellent condition for many years.
Testing The Equipment After Moving
Now that you have successfully reassembled your exercise machines, it’s time to test them out. Testing the equipment after a move is essential to ensure that everything is working correctly and there is no damage.
First, make sure that all power cords are connected securely. Electrical components can easily get caught on something during the packing or moving and become disconnected. If any threads are damaged or frayed, replace them before testing the machine.
Next, check for any loose screws or bolts that may have come undone during the move. If any fasteners become loose and not tightened back into place, the machine could malfunction and cause injury if used. Take the time to review every device and tighten down any loose parts before using it.
Finally, plug in each machine and turn it on one by one. Ensure all the buttons work correctly and that all the safety features remain intact. If something doesn’t feel right or looks damaged after testing each piece of equipment, it is best to contact a professional repair service for assistance before using it again.
Maintenance And Cleaning
Maintaining and cleaning your gym equipment before, during and after the move is crucial. Proper maintenance can protect your gym equipment and prevent wear and tear more quickly. Before you start packing, make sure to inspect all of your gym equipment for any signs of damage or wear and tear. You should also clean all your equipment thoroughly, as dirt and grime can cause problems during the move.
Secure loose parts with tape or straps, so nothing is jostled around during the move. Also, label each box with its contents, so you don’t have to guess when it comes time to unpack everything at your new location.
To ensure your gym equipment stays in top condition after the move, recheck it for any signs of damage or repair needs once you’ve settled into your new home. Then, if necessary, take some time to maintain each piece of equipment, such as tightening nuts and bolts, cleaning off grime or dusting off dirt particles. Regular maintenance and proper care allow you to use your gym equipment worry-free for years!
Moving your gym equipment with the proper preparation, you can ensure it’s safe and secure during transport. You can also take apart large equipment for more accessible transportation if necessary. Then, once you’ve reached your destination, clean the equipment to keep it in shape.
These precautions will help ensure your gym equipment arrives safely at its new home without damage. You can move your exercise gear quickly and easily with effort and planning. And once everything is set up in its new place, you can get back to working out quickly!
So don’t let the thought of moving hold you back from taking advantage of all the benefits of having gym equipment in your home. Take the time to prepare for the move and ensure everything goes smoothly correctly – you won’t regret it!
The post How To Pack And Move Your Gym Equipment Without Damage appeared first on Treasure Moving.